How to Create a Calculated Field on a Form in Microsoft Dynamics 365 for Sales CRM
In this example, I’m going to add a field called “anniversary” to my accounts. This field will display the anniversary of our relationship with each company.
You can modify the instructions below to create other calculated fields in other entities.
Create a calculated field
1.) Go to Settings > Administration > Customization > Customize the System.
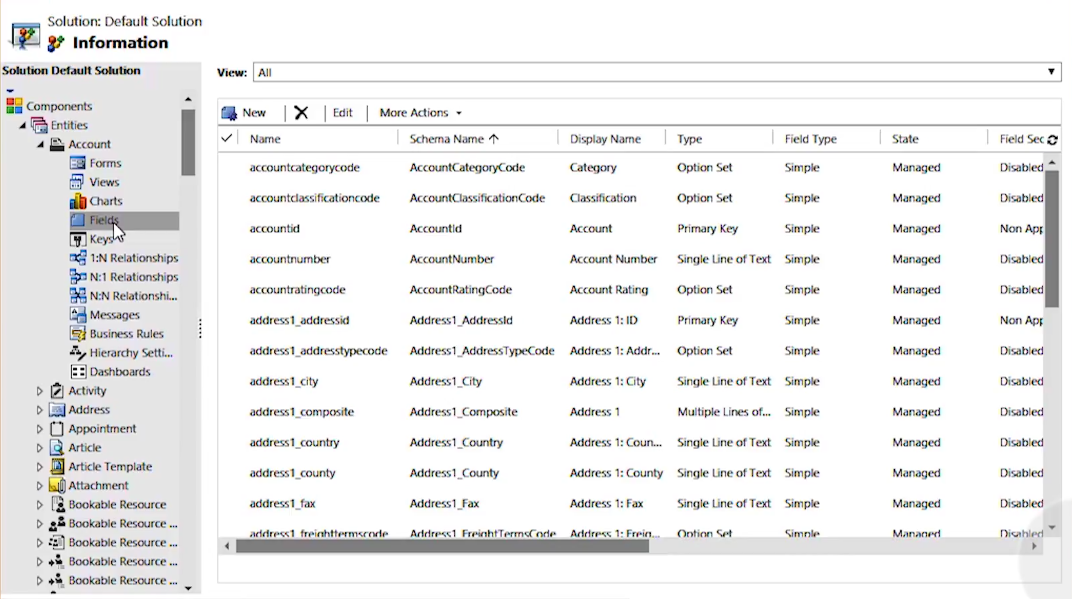
2.) Select Entities > Accounts > Fields, then click New to create a calculated field:
3.) Enter a Display Name and Data Type, then set the Field Type to Calculated:
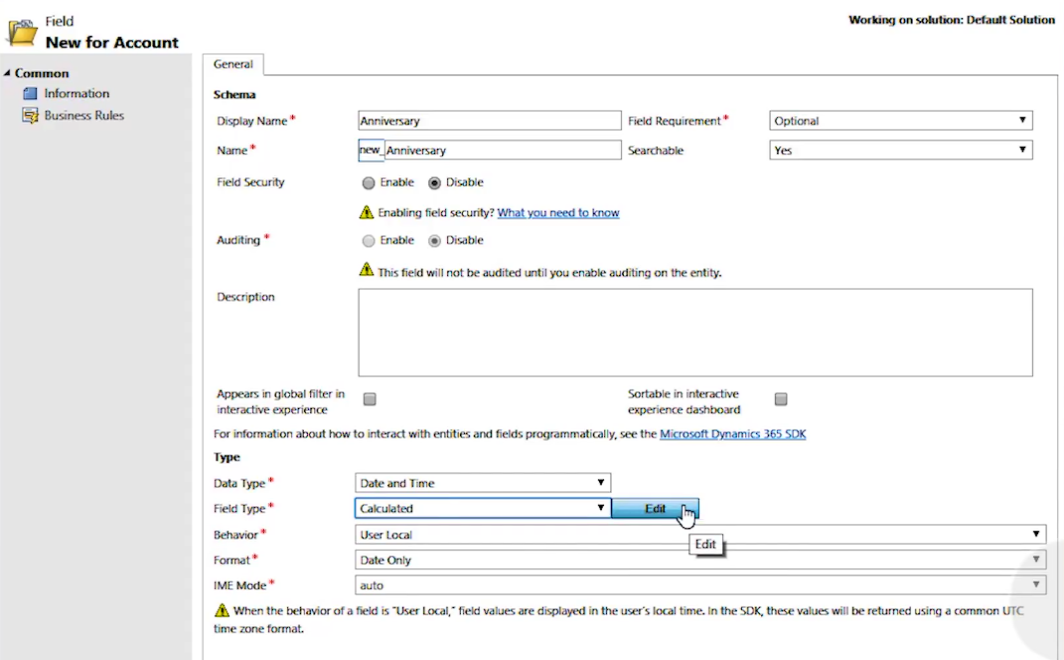
You can also enable field security, enable auditing, add a description, etc. But for this example, we’ll skip those extra steps.
4.) Click Edit to set up the field function, then set the Action to ADDMONTHS(12,createdon)and click the  button:
button: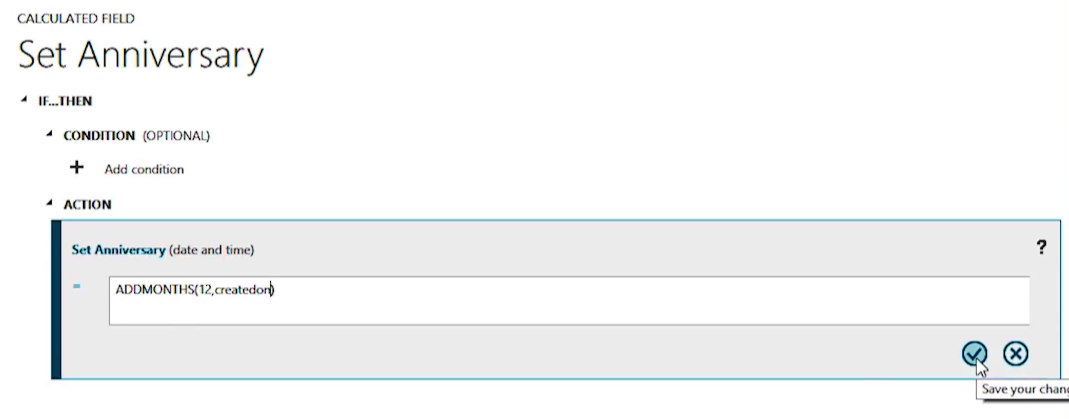
5.) Click Save and Close.
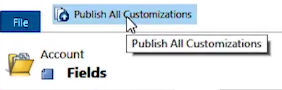
6.) Click Publish all Customizations:
Add a calculated field to a form
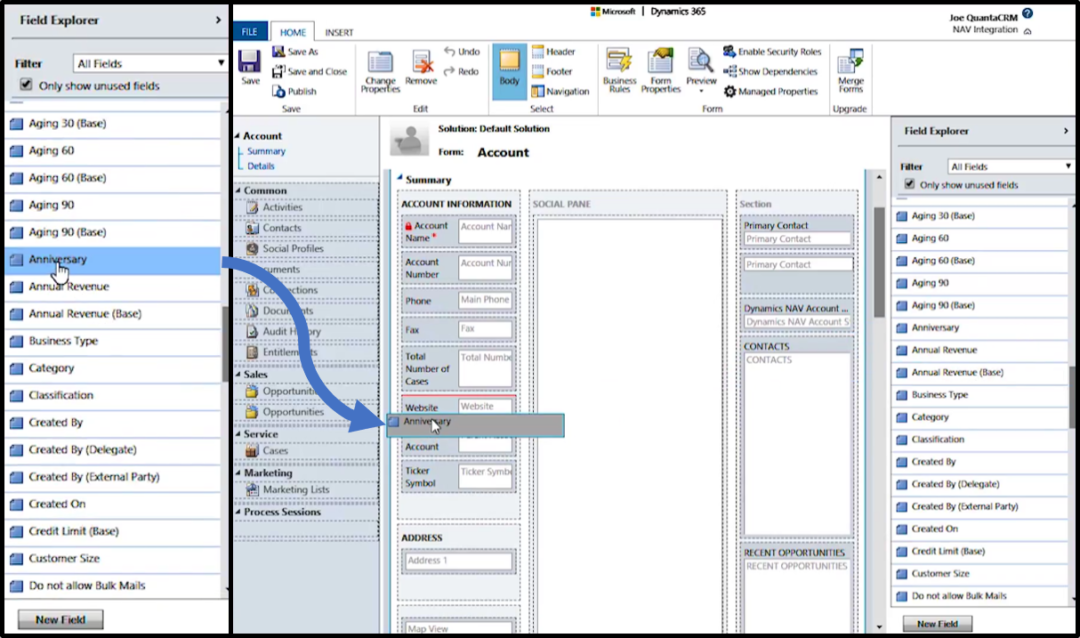
1.) Go to the record you want to add a calculated field to and click Form:

2.) Find the field you want to add in the Field Explorer, then drag and drop it into the formwhere you want it to appear:
3.) Click Save and then Publish, then close the form window.
4.) Click F5 to refresh the record sceen.
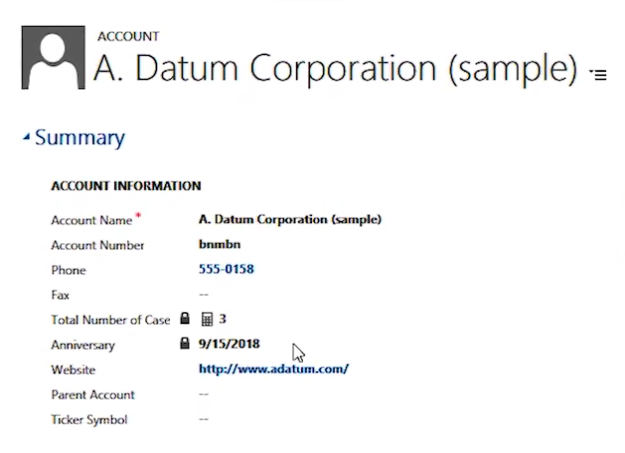
You should now see your calculated field on the record:

Comments
Post a Comment